Those of you who are regular visitors to this website will know that when it comes to page builders, I’m a Divi man through and through.
On this site I use the Divi theme, which has the Divi Builder built in and on my Genesis child theme website I use the Divi Builder plugin.
But recently social media has been buzzing about a new drag-and-drop page builder, one that doesn’t use shortcodes and comes with both a free and premium version and the name of the new kid on the block is… Elementor.
In this post I’ll take a close look at Elementor, check out its features, put it through its paces and decide if it’s a young pretender or serious contender.
My Affiliate Links Disclosure
Hi everyone. Just to let you know that many of the links on this site are my affiliate links. What that means is that if you click one of them and buy something… I get a commission. It doesn’t cost you anything extra and I only recommend things that I’ve tried and tested, so please, please, please… use my links.
An introduction to Elementor
Before we start delving into the workings of Elementor, take a look at this short introductory video.
The video tells you what Elementor is, what it does and points out some of its features.
So Elementor is an instant drag-and-drop page builder plugin, which works with any WordPress theme and comes with a free version.
Sounds pretty good so far so let’s start looking at the details.
Live Page Builder For WordPress:
Reach a whole new level of design with Elementor,
the most advanced drag & drop live page builder for WordPress.
Elementor
Elementor Page Builder – building your first Elementor page
Elementor is a plugin, which works with any WordPress theme, so the first thing you have to do is download, install and activate it.
Once the Elementor plugin has been activated, when you create a new page or post you’ll notice a light blue button at the top of the WordPress content area, which will give you the option to “Edit with Elementor”.
Click the button and you can now start creating your first page with Elementor.
This video is a great introduction to the whole process:
A great overview in just over two minutes, which is my kind of video, so now let’s look at the main points covered.
The three basic building blocks
To create a page with Elementor, you use three types of elements: Sections, Columns and Widgets.
The Sections and Columns provide the page structure and the Widgets provide the page content.
Let’s take a closer look at each of the three elements:
- Sections – a Section is the basic element that you can work with. It breaks your page up into specific areas and it can be set as full width or the width of the content area, which is the default setting.
After you create a Section you can drag and drop a Widget directly into it or you can divide each Section into Columns and place Widgets inside the Columns.
Each page can contain as many Sections as you want and you can drag and drop Sections to relocate them.
- Columns – once you’ve added a new Section you’ll be prompted to add a column layout.
There are twelve Column layouts to choose from and you can add, delete and modify the widths of Columns at any time.
The Columns can also be easily arranged and reordered by simply dragging and dropping them.
- Widgets – allow you to add content and functionality to your page such as: images, image galleries, videos, progress bars, accordions and lots more.
At the moment there are 28 free Widgets and 7 pro widgets.
Settings panel for Sections, Columns and Widgets
On the LHS you’ll find the settings panel for Sections, Columns and Widgets.
The settings panel responds to whatever design element is active and it has three tabs, Content, Style and Advanced.
Each tab covers the following information:
- Content – the Content tab allows you to add content, to a particular element, such as headings, general text, images, icons, HTML tags (h1, h2 etc.) and links.
- Style – the Style tab allows you to change styling attributes such as alignment, text colours, line height and letter spacing.
- Advanced – the Advanced tab allows you to control more advanced settings such as margins, padding, entrance animations and custom CSS.
Responsive design check
To carry out a responsive design check on your page, click the “Responsive Mode” icon at the bottom left.
This will open up a panel, which will allow you to check your page on desktop, tablet and mobile view.
And finally… save your work
And finally, after all that hard work, you only have one last job to do.
Go to the bottom left of the screen and hit the “Save” icon and you’re all finished.
Any Theme. Any Page:
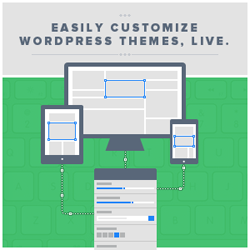
Use Elementor with your favorite or customized theme. Change themes and still keep all your designs. Landing pages, homepages, posts, portfolios, products. Elementor can be used to design any page or custom post type.
Elementor
The Elementor template library – page creation on steroids

Starting a page from scratch can be rather daunting but fortunately you can kick-start your pages with the Elementor template library.
What’s the Elementor template library?
The template library contains two areas, “Predefined Templates” and “My Templates”.
The “My Templates” area is a place where you can store all the pages you’ve created, for future use.
The “Predefined Templates” contains over twenty page templates that have been designed by a team of professional designers over at Elementor.
You can use the “Predefined Templates” to kick-start your designs and this video walks you through the whole process.
Another couple of features of the template library worth mentioning are:
#1 – Saving individual Sections
Not only can you save complete pages to the library, but you can also save individual Sections.
This is a real timesaver if you find yourself using the same Sections on lots of pages. Just save the Section and import it into each of the pages.
#2 – Library Manager for import and export
You can import and export your library content via the Library Manager, which you access from your WordPress dashboard via Elementor > Library.
Don’t Settle For Less Than Stunning:
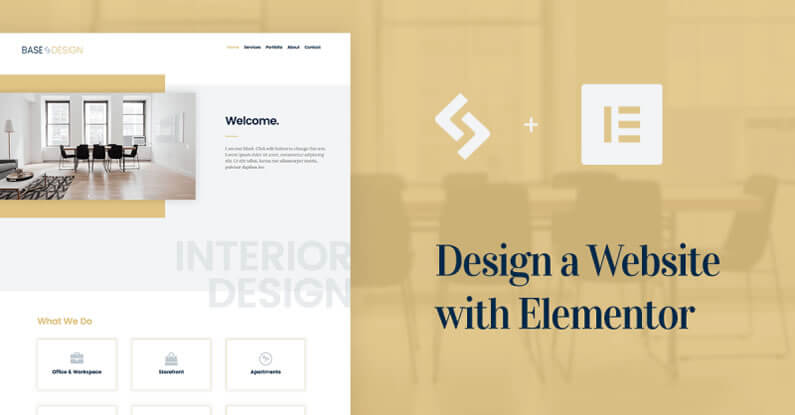
To get you inspired, we’ve created some beautiful templates for you to enjoy. It was done with no coding, no photoshop work, no written CSS. Just Elementor.
Elementor
Elementor help and documentation
There’s nothing worse than having to learn how to use a plugin by trial and error. It’s frustrating at best and soul destroying at worst.
No such problems with Elementor, it comes with three lines of help and support:
- Documentation – it has clear and concise documentation, including lots of videos, which will take you all the way from downloading and installing the Elementor plugin to creating and styling your first website.
- Support via your account dashboard – if you can’t find what you’re looking for in the documentation, you can contact Elementor via the Support tab in your account dashboard. I’ve not had to use this route, but I only hear good things about their support.
- Elementor community – a community of users has built up around Elementor and they are happy to help and share their expertise. You may want to try out the elementors community Facebook group, which I’ve just joined.
I was able to set up my Elementor demo site just using the Elementor documentation, which is always a good sign.
The videos in particular are very helpful and they are short enough to stop you losing interest and becoming bored.
Elementor Pro – conversion engagement workflow
I set up my Elementor demo site using the free version, but there is a Pro version and it comes with a few rather nice extras.
It looks as though Elementor Pro is for people who want to make control of their website easier.
It comes with features such as Global Widgets, Embed Anywhere and Forms, which allow you to create much more advanced websites and create them much faster.
This short video gives a good overview of Elementor Pro:
Just to remind you, here are some of the premium features available with Elementor Pro:
- Live Form Editor – never again work on forms on the backend.
- Posts, Portfolio & WooCommerce Widget – showcase your content in every possible way.
- Global Widget & Embed Anywhere – edit cross-site templates from one place.
- Custom CSS – add custom CSS and see it in action.
- New Widgets – Slides, Countdown, Price Table & Price List.
- Pro Templates – exclusive templates, specifically designed for Pro users.
If there are any of the above features that you think would save you time and effort then you may want to go Pro.
I particularly like the look of the Live Form Editing and Pro Templates… great sounding features.
It’s been a bit over six months since we launched the free Elementor page builder, and as they say, we’ve come a long way. We started with a lean, free page builder. Now, after months of hard work, we are proud to have reached a much more mature, premium page builder, jam packed with amazing features and capabilities.
Elementor
Elementor drag-and-drop page builder plugin – the verdict’s in
I nailed my colours to the mast at the beginning of this post when I said “I’m a Divi man through and through”.
And because of that I approached Elementor thinking that there’s no way that it could be as good as Divi, but boy was I pleasantly surprised.
I tested Elementor on a local install of a Genesis child theme and had no problems with installation and activation.
I watched a few of the short videos from the Elementor Documentation and then created a page using one of the Library Templates as a starting point.
Modifications were easy using the Settings panel and the changes I made were shown almost instantaneously in the content area.
From my experience and taking in to account ease of installation, ease and speed of use, features, responsiveness and quality of the documentation, Elementor is right up there with the best of the WordPress Page Builders and is definitely and absolutely… a serious contender.
With Elementor, we tried to set a product that would become the new standard, as the most popular and widespread page builder plugin.
Elementor
I’ve provided links for both the free and Pro versions of Elementor below:

Pick up your free copy of Elementor or go Pro and enjoy all the Pro features!
Credits:
My thanks and gratitude to:
Unsplash for the featured image top graphic.
Elementor for the videos and graphics.
